
")
")
")

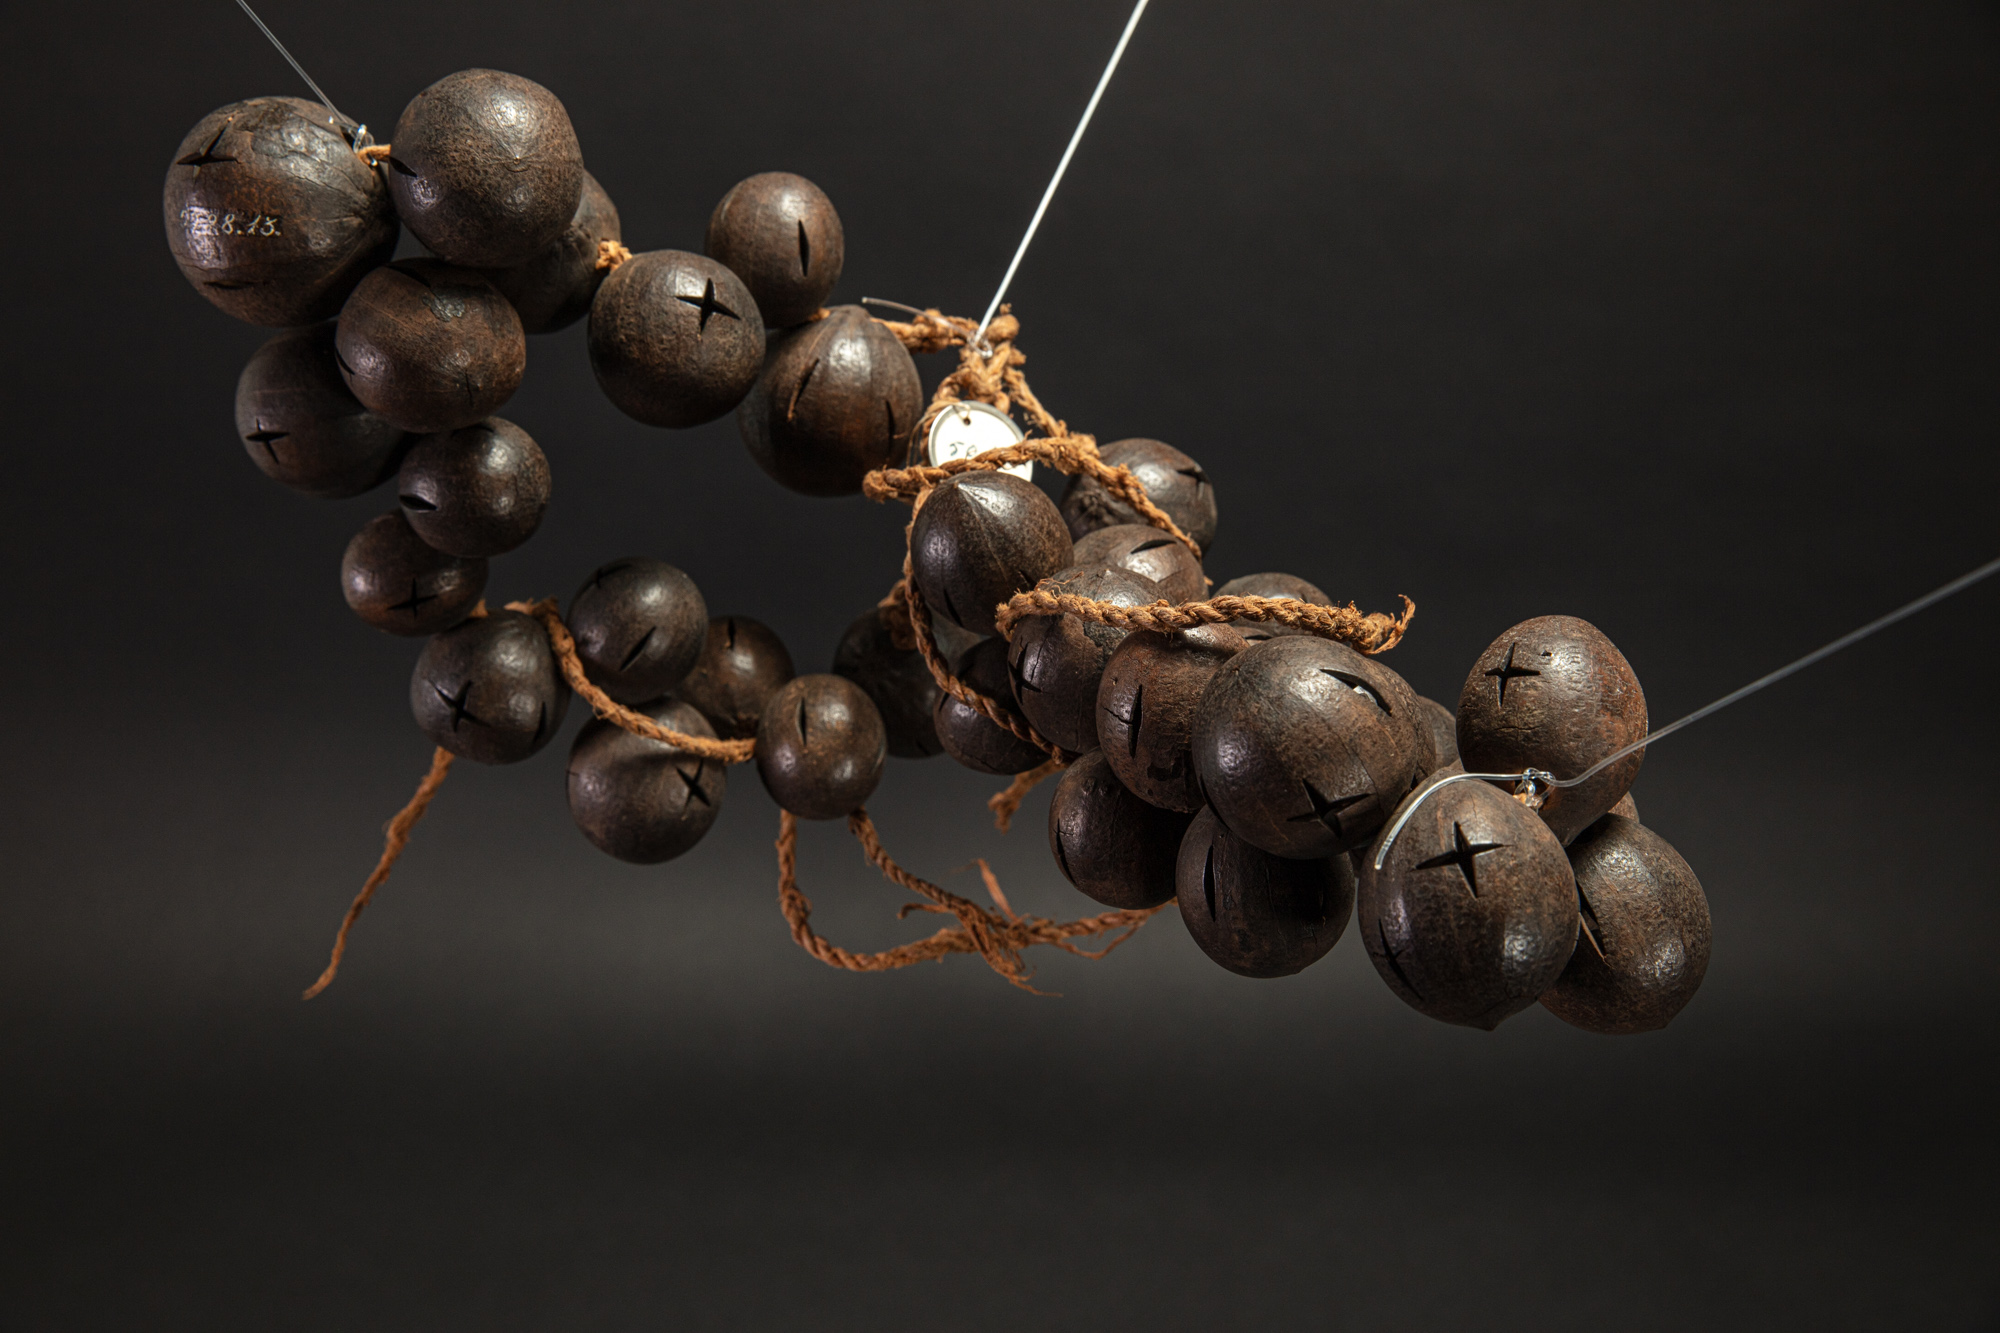
Photographing heritage objects means capturing every detail with absolute clarity. However, the shallow depth of field often makes it impossible to achieve perfect sharpness across the entire object in a single shot.
So how can you ensure that every texture and every inscription is perfectly legible? That's where focus stacking comes in. This powerful technique involves combining several photos taken with different focus points to create a final image with exceptional sharpness from the foreground to the background. In this video, we'll explore why and how to use this method to enhance your photos of heritage objects.
Essentials
Focus stacking is essential when dealing with optical limitations. The shallow depth of field inherent in macro lenses and large apertures prevents total sharpness from being achieved on complex or large subjects. Without this technique, crucial details would be blurred, compromising the accurate documentation of heritage objects or works of art, where every element counts for analysis and conservation.


- Work with a tripod
- Use a remote control or self-timer to avoid vibrations caused by touching the camera body.
- Maintain a minimum of 50% overlap of sharp areas between each image in the stack.

Lightroom Classic does not perform focus stacking directly, but it is excellent for preparing images! Here are the steps:
-
Import & Selection: Import all your images (taken at different focus points) into Lightroom Classic. Select them all.
-
Basic Development: Apply your basic corrections (exposure, white balance, lens profile) to one image, then synchronise these settings to all selected images (Photo > Development Settings > Synchronise Settings...).
-
Aberration Correction: Make sure to enable ‘Lens Profile Correction’ and ‘Chromatic Aberration Removal’ for all images (via synchronisation).

4. Export to Photoshop: Once your images are ready, select them all, then go to Photo > Edit in > Open as Layers in Photoshop. Photoshop will take over the stacking!


Perfect, now continue in Photoshop to assemble your stack:
-
Selecting Layers: Once all your images are open as layers in Photoshop, make sure all layers are selected. To do this, click on the first layer, hold down the Shift key and click on the last layer, or go to Select > All Layers.
-
Auto Align: Now that all your layers are selected, go to the Edit menu > Auto-Align Layers.... In the dialogue box, choose Auto mode to let Photoshop analyse and align your images as best it can. Click OK. Photoshop will work to correct any slight misalignments between your shots (caused, for example, by breathing or minor vibrations).
-
Image Combination (Auto Blend Layers): Once alignment is complete, with all layers still selected, go to the Edit menu > Auto Blend Layers.... For focus stacking, choose the Stack Images option and make sure that the Uniform Tones and Colours option is checked. Click OK. Photoshop will then analyse the sharpness of each layer and combine the sharpest areas of each image to create a single final image that is perfectly sharp from foreground to background.
There you go! Your final focus stacking image is ready.
